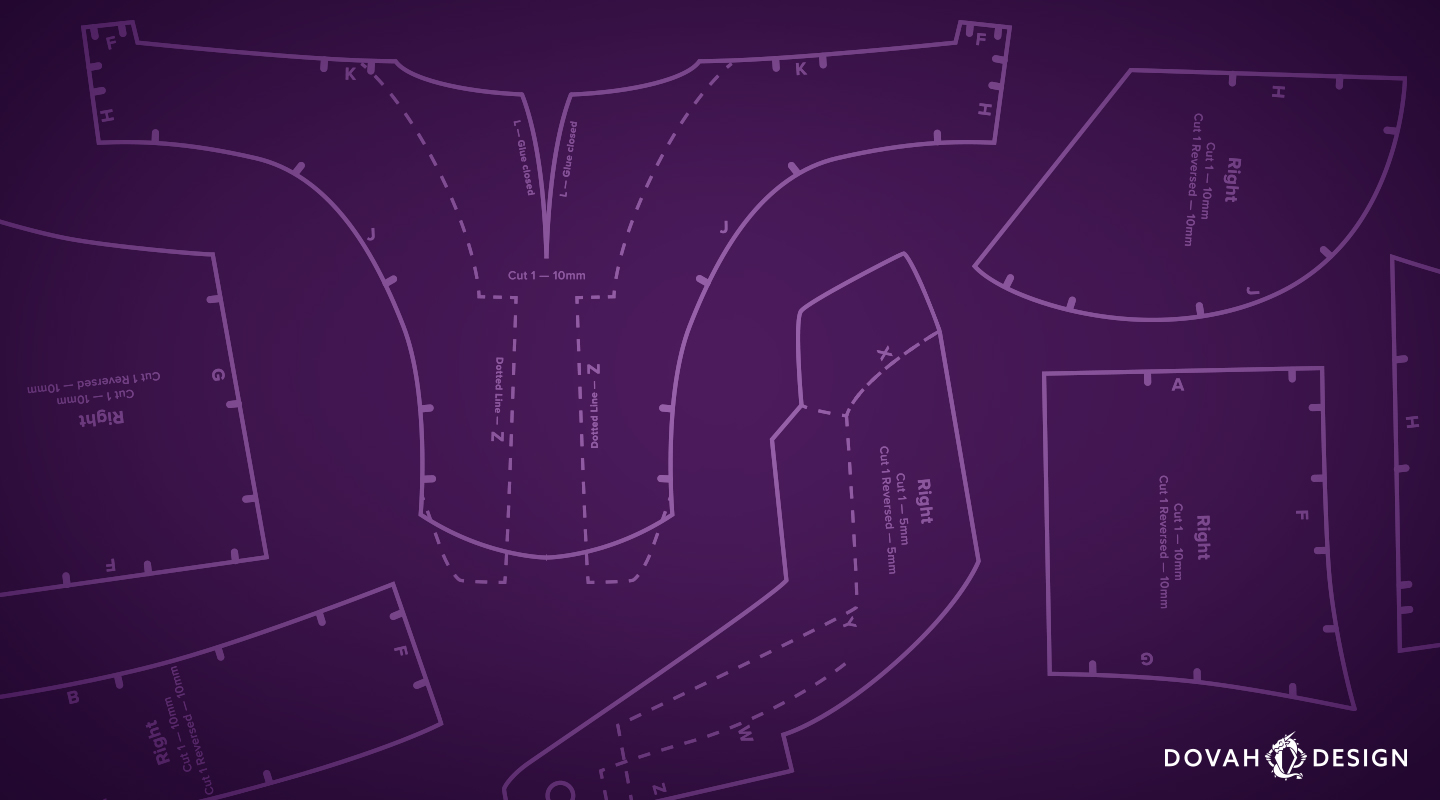
To celebrate Star Wars on this MAY THE FOURTH 2020, I’m releasing the pattern I created for Darth Revan’s Helmet. It’s my first ever Star Wars cosplay pattern, and it was one heck of a Kessel Run to bring it to you, but now it’s FREE to download as a printable PDF right here! If you would like to support my efforts to make this pattern, you can also make a donation in my shop! Thank you in advance for your support. 💜
All of us cosplayers know a pattern is not always as simple as just downloading, though. To help you put together this star wars cosplay pattern, I’ve added some basic instructions and construction photos below for your reference.

Star Wars Cosplay Pattern: Darth Revan’s Helmet
Tools & Materials Needed:
- 10mm EVA Foam Sheet
- 5mm (-OR- 6mm) EVA Foam Sheet
- 2mm EVA Foam
- Foam Clay
- Cutting Mat
- Tinted replacement visor — **Optional**
- Quick Cure Epoxy — ** Optional **
- Heat Gun (I love my adjustable Porter Cable!)
- Utility Knife & Sharpener
- Sharpie Marker
- Barge Cement
- Plastidip – OR – Flexbond
- Acrylic Paints & Brushes
- DAP Qwik Seal
Step 1: Print & Cut Your Pattern

Step 2: Trace & Cut Your Foam
Using a sharpie or similar soft felt marker, trace the outlines of your patterns, and mark the registration keys. I leave a tick mark along the outside, then mark the same line on the inside of the pattern once I remove the paper. One at a time after removing, be sure to also mark each sides’ letter, and dotted registration lines too. This makes it super easy to glue all your pieces on together later.
Each pattern piece is labeled with the foam thickness you’ll need, as well as how many of each piece you need. Be sure you remember to flip your pattern over for all pieces that say “Cut 1 Reversed,” and be sure to label which is “Right” and “Left.”
Once all your pieces are cut, give them a quick once over with your heat gun to seal the foam.
Step 3: Glue Glue Glue!
For gluing this specific Star Wars cosplay pattern, you’ll begin with each of of the 10mm pattern pieces. Once all your 10mm pieces are glued, you can heat form in small sections to smooth out your curves. You can also use a Dremel to sand edges smooth if necessary at this time.

FYI: Barge cement can sit for a LONG time and still be fine for gluing. Don’t rush, and let it get nice and dry before attaching pieces for the strongest hold.
Step 4: Affix the Details
Start with the 5mm pieces, as they go below your 2mm detail layers.
Once you’ve added the 2mm details on the front face of the helmet, grab your foam clay and use a small bit to smooth out the front most 2mm detail layer (labeled with a “W” and “Z” side on the pattern). Our version of Darth Revan’s helmet has a subtle curvature on the front silver panel we are mimicking with this top layer and foam clay.


Step 5: Seal & Paint
Once your Qwik Seal is dry, seal all your foam with Plastidip, Flexbond, or your preferred EVA primer of choice. Be sure to follow instructions on the product you choose!
When making Darth Revan’s helmet, I followed Punished Prop’s creature cast rubber tutorial on YouTube. I found it was nice to be able to build up a thick coating of sandable rubber — However the results are just as nice with Plastidip, so I don’t recommend going out of the way to try Creature Cast if you don’t already have all the tools needed to do so.
I finished Darth Revan’s helmet with hand painted acrylics and lots of “distressed” details. If you are looking for a smoother, shiny finish, I recommend acrylic airbrushing your paint. Just be sure to let your primer dry completely, then section off color blocks with some “delicate surface” painter’s tape. You can then finish it off with a high gloss acrylic coat.

Step 6: Cut & Glue in Your Visor
This step is totally optional, but I thought it really pulled the Darth Revan look together in the end! If you decide to do it, I recommend making your pattern before painting your helmet.Apply some masking tape to the inside of your helmet behind the “eye opening.” Using a dark sharpie, careful not to get marker on your finished paint job, trace the eye opening from the outside on to the tape with a sharpie. Remove the tape, and trace 1/2″- 1″ around the outside of your line to create a larger pattern. Use this pattern to cut your visor, and affix to the inside of your helmet using a 2 part epoxy.
Congratulations! The force was with you, and you have succeeded at making Darth Revan’s helmet with my star wars cosplay pattern! Will you use your newfound power for good? Or will it turn you to the dark side? * Palpatine laughter ensues *
For more photos of my completed Darth Revan helmet, check out my Portfolio!


One Comment